
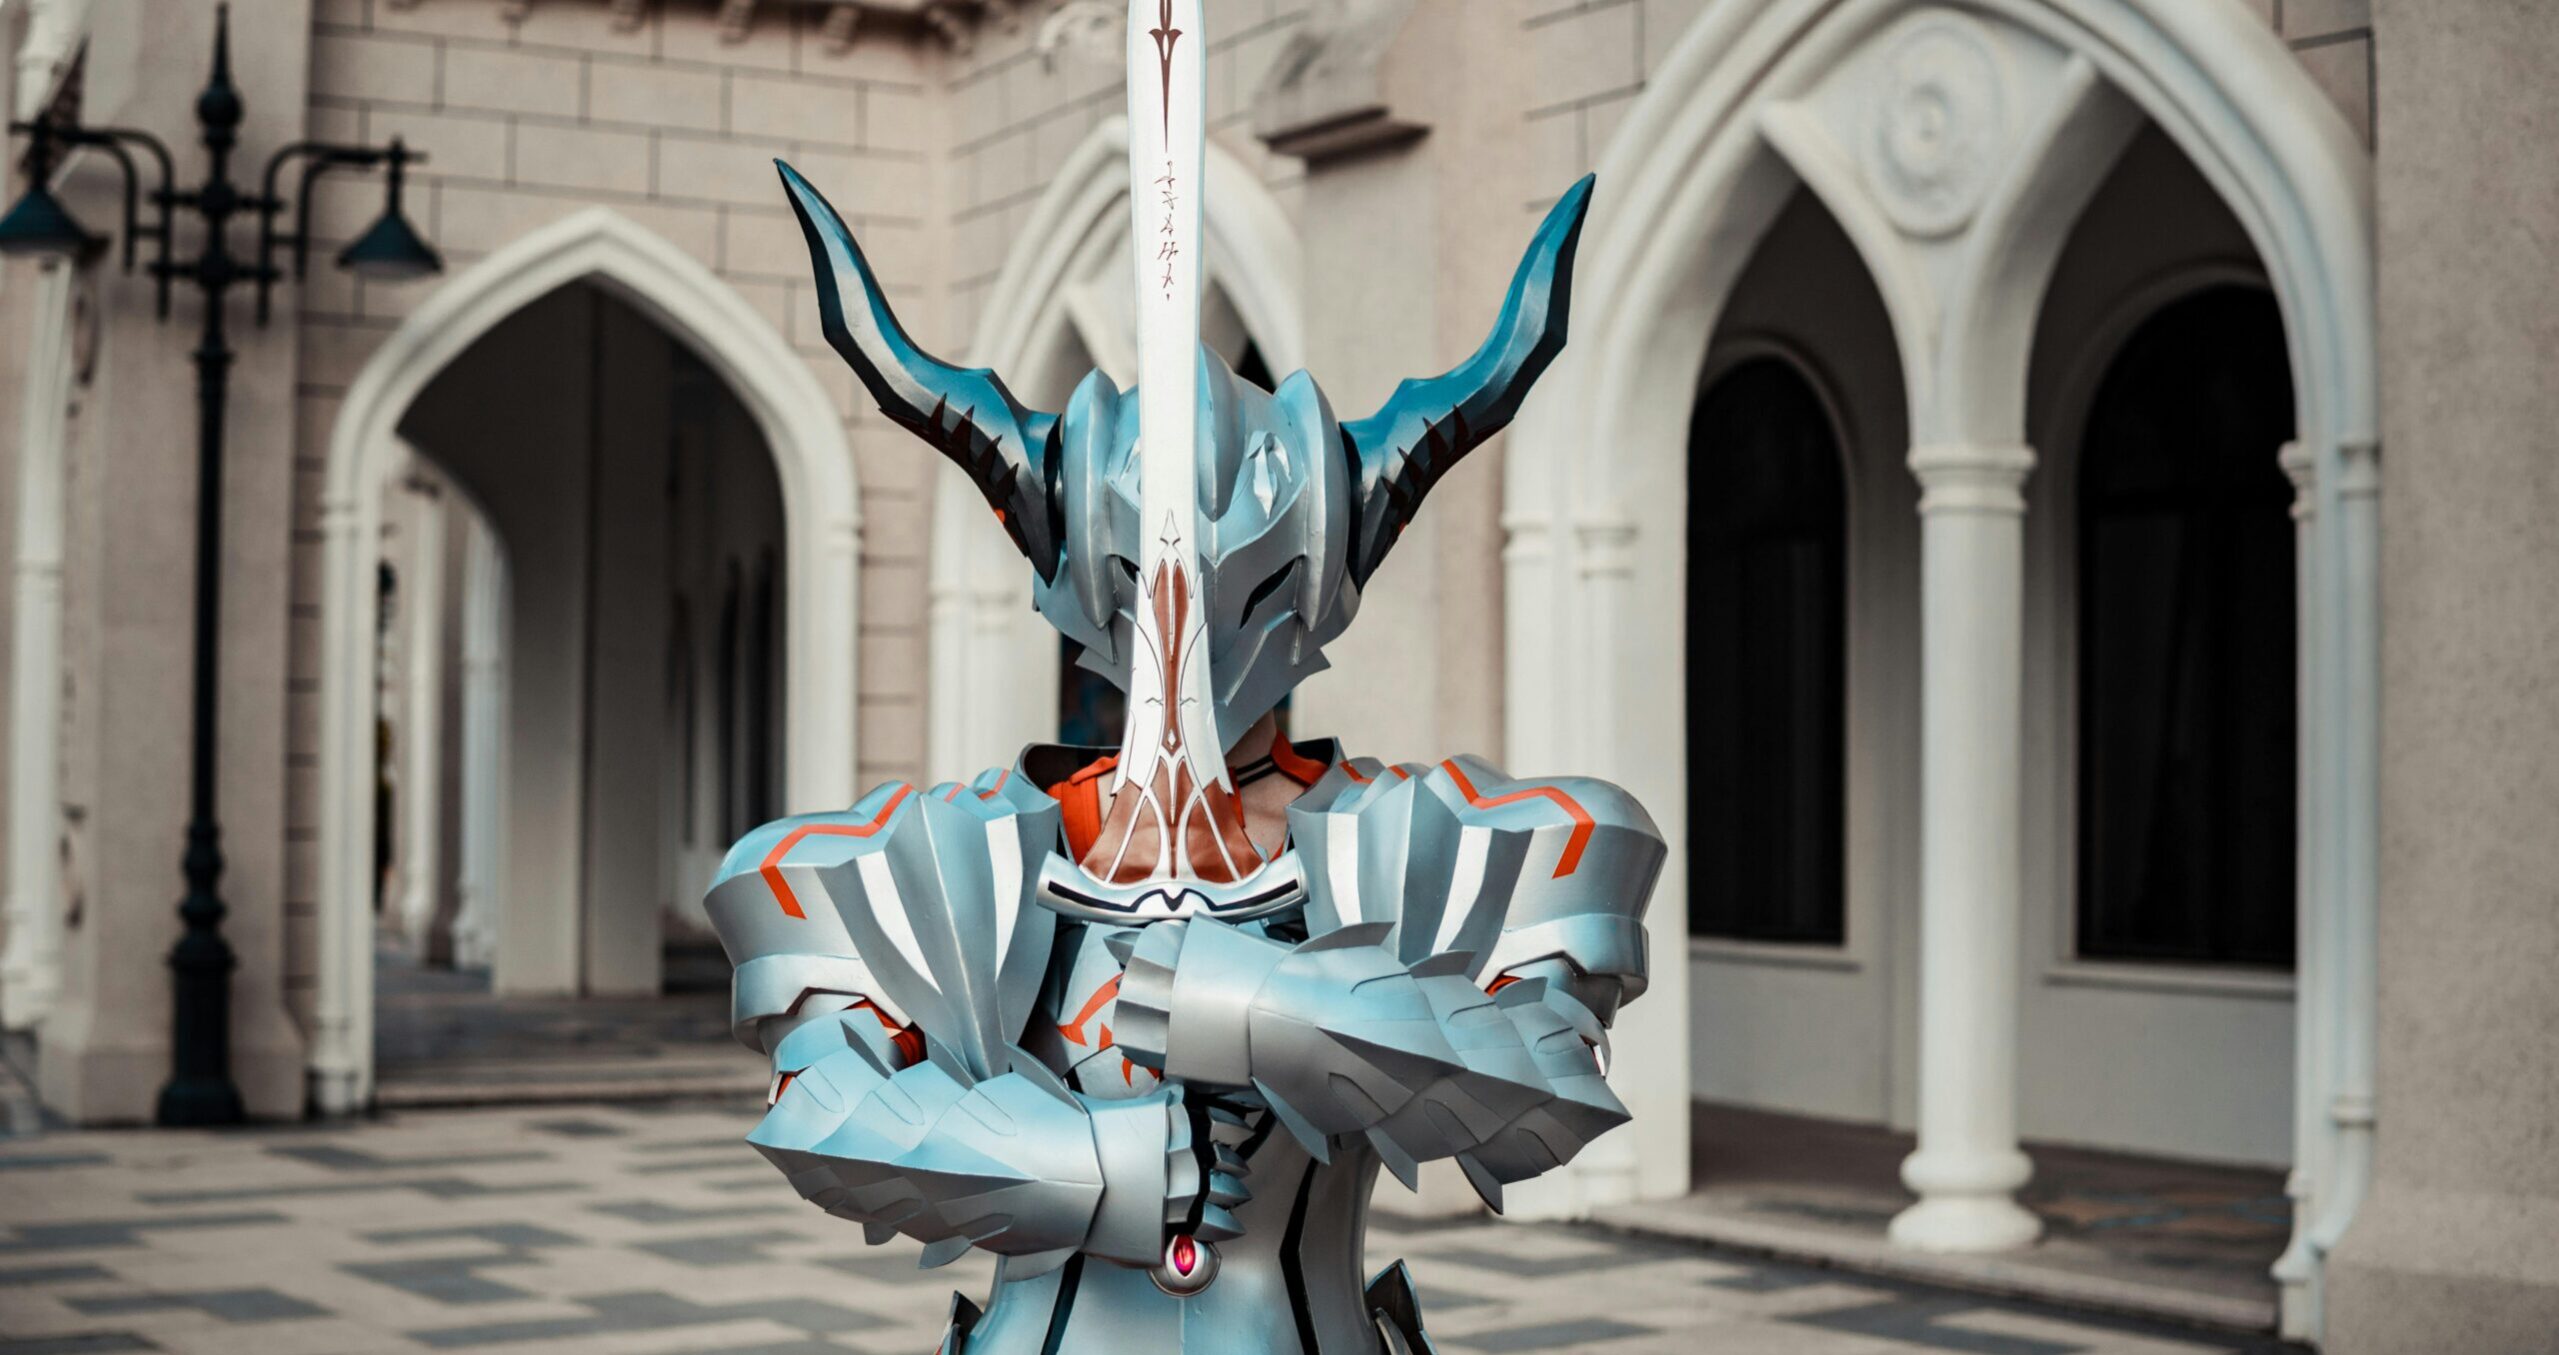
Building a complete 3D printed cosplay has a sequence. Do things out of order and you create rework: printing a piece before you have confirmed measurements, painting before all assembly is done, building props before the armor is finished and strap positions are confirmed. This timeline covers a full armor build from concept to convention floor in 14 weeks, which maps exactly to a September 1 start and a Holiday Matsuri debut in December. Every week has a focus and an exit criterion.
Weeks 1-2: Reference and Design
Week 1: Lock character selection. Gather reference material: official concept art, in-game screenshots from multiple angles, fan reference sheets. Download the game model from Sketchfab if available. Create a component list: every piece that needs to be built, every material needed.
Week 2: Source STL files or begin modeling. For characters with existing community-made STL files, find and evaluate quality. For original designs or characters without good community files, begin modeling in Blender or TinkerCAD. Order filament now if you don’t have the colors needed — shipping time can eat into build weeks.
Exit criterion: All STL files either sourced or modeled. Full materials list confirmed with nothing on back-order.
Weeks 3-4: Scale Testing and First Prints
Print test sections. A 15-20% scale test of the helmet profile confirms sizing before committing to a full helmet print. Measure against your head, adjust scale, run a second test if needed. This week is cheap: test prints use minimal filament. Discovering a scale issue here costs 20g of filament. Discovering it after the full helmet is printed costs 300g and 10 hours.
Begin printing the largest structural pieces: helmet, chest, back plate. These are overnight prints. Load the plate before bed, collect the finished piece in the morning.
Exit criterion: Scale confirmed for all major pieces. Helmet and torso pieces printing.
Weeks 5-7: Print All Remaining Components
Systematic printing. Pauldrons, gauntlets, greaves, weapon prop. Batch small pieces together on single plate loads. Keep a print log: piece name, print time, weight, any issues. The print log identifies patterns in failures before you’ve wasted multiple pieces to the same problem.
Midpoint dry fit: at the end of week 6, do a full dry fit of all printed pieces on the body. Identify fit issues, proportion problems, and anything that needs reprinting. Better to identify this at week 6 than week 11.
Exit criterion: Every component printed and dry-fit confirmed.
Weeks 8-9: Assembly and Structural Finishing
Glue multi-part pieces together. Fill seams with Bondo or spot putty. Sand joints flush. This is the most labor-intensive stage and takes longer than expected on a first build. Budget 8-12 hours across the two weeks for seam work alone on a full armor set.
Install strap hardware, magnet closures, and helmet interior liner during this stage, not at the end. Getting hardware in while pieces are off the body is dramatically easier than retrofitting it at week 12.
Exit criterion: All seams filled and sanded. Hardware installed. Everything wearable for a structural test.
Weeks 10-12: Painting
Primer first. Prime everything before any color goes on. Let dry 24 hours. Inspect for surface issues the primer reveals. Address them before color.
Base coats in week 10. Accent and detail work in week 11. Touch-up, wash and shading, Rub-n-Buff in week 12. Apply matte sealant to each piece as it’s finished.
Do not rush painting. Rushed primer means the paint chips. Rushed base coat means the shading looks wrong. Rushed detail work means sloppy lines. Painting is where the build transitions from “printed parts” to “costume” and the time spent here shows directly in the result.
Exit criterion: All pieces painted and sealed.
Weeks 13-14: Wear Testing, Final Fixes, and Con Prep
Week 13: Wear the full costume for 2 hours at home. Walk stairs, sit, stand, turn, crouch. Every strap will need adjustment. Something will rub wrong. A magnet closure will fail. Find these problems at home with your repair tools at hand, not on the convention floor.
After the wear test: address every issue found. Adjust straps. Re-epoxy any hardware that shifted. Touch up any paint that rubbed during the wear test.
Week 14: Final con prep. Pack the transport kit as described in the packing guide. Assemble the field repair kit. Review the specific convention’s prop policy one final time. Charge camera batteries.
Exit criterion: Packed, prepped, ready. Build complete.
The September Series in One Place
Every technique covered in this month’s posts maps to a stage in this timeline. TPU straps and magnet closures (weeks 8-9). Helmet splitting and scale guide (weeks 3-4). Hybrid materials: Worbla, EVA foam, fabric printing, leather (weeks 8-12). UV resin and epoxy coating (weeks 10-12). Con prep, packing, and field repairs (week 14). The Florida con calendar and competition judging guide (context for target and motivation throughout).
Everything you need for a Holiday Matsuri-level 3D printed cosplay has been covered this month. Start the build.