
So you want to start 3D printing. Good call. But before you buy anything, it helps to know what you actually need versus what the internet is trying to upsell you on. This guide covers the real starter kit: the printer, filament, slicer software, and a few small extras that will save you a lot of headaches.
The short answer: you need a printer, a spool of filament, free slicer software, and an STL file to print. That’s it. Everything else is optional until you run into a specific problem.
The Printer: FDM Is Where Most People Start
There are two main types of home 3D printers: FDM (Fused Deposition Modeling) and resin. For beginners, FDM wins almost every time.
FDM printers melt plastic filament and lay it down layer by layer to build up an object. They’re safe to use indoors without special ventilation, filament is cheap, and the files you find online are designed for them by default. Resin printers produce finer detail but require chemicals, proper ventilation, UV curing, and careful waste disposal. Great tools, but not the place to start.
For FDM, entry-level options from Bambu Lab, Creality, and Prusa cover the $200 to $600 range and will handle everything a beginner needs. If you want a machine that just works with minimal tuning, Bambu Lab’s A1 series is where a lot of makers land in 2026.
Read more on the OreKo FDM printers guide to see what to look for in your first machine.
Filament: Start with PLA
Filament is the plastic your printer melts to build the object. It comes in spools, usually 1kg, and feeds into the printer through a tube or directly into the hotend.
PLA (polylactic acid) is the right choice for beginners. It prints at 190-220°C, doesn’t warp badly on most surfaces, smells mild during printing, and is strong enough for the vast majority of prints. A 1kg spool costs roughly $15 to $25 depending on brand.
Later you might explore PETG for parts that need more heat resistance, or TPU for flexible prints. But for your first 10 or 20 prints, PLA is all you need.
Check out the full breakdown on the OreKo filament guide for a deeper look at material options.
Slicer Software: Free and Already on Your Computer (Sort Of)
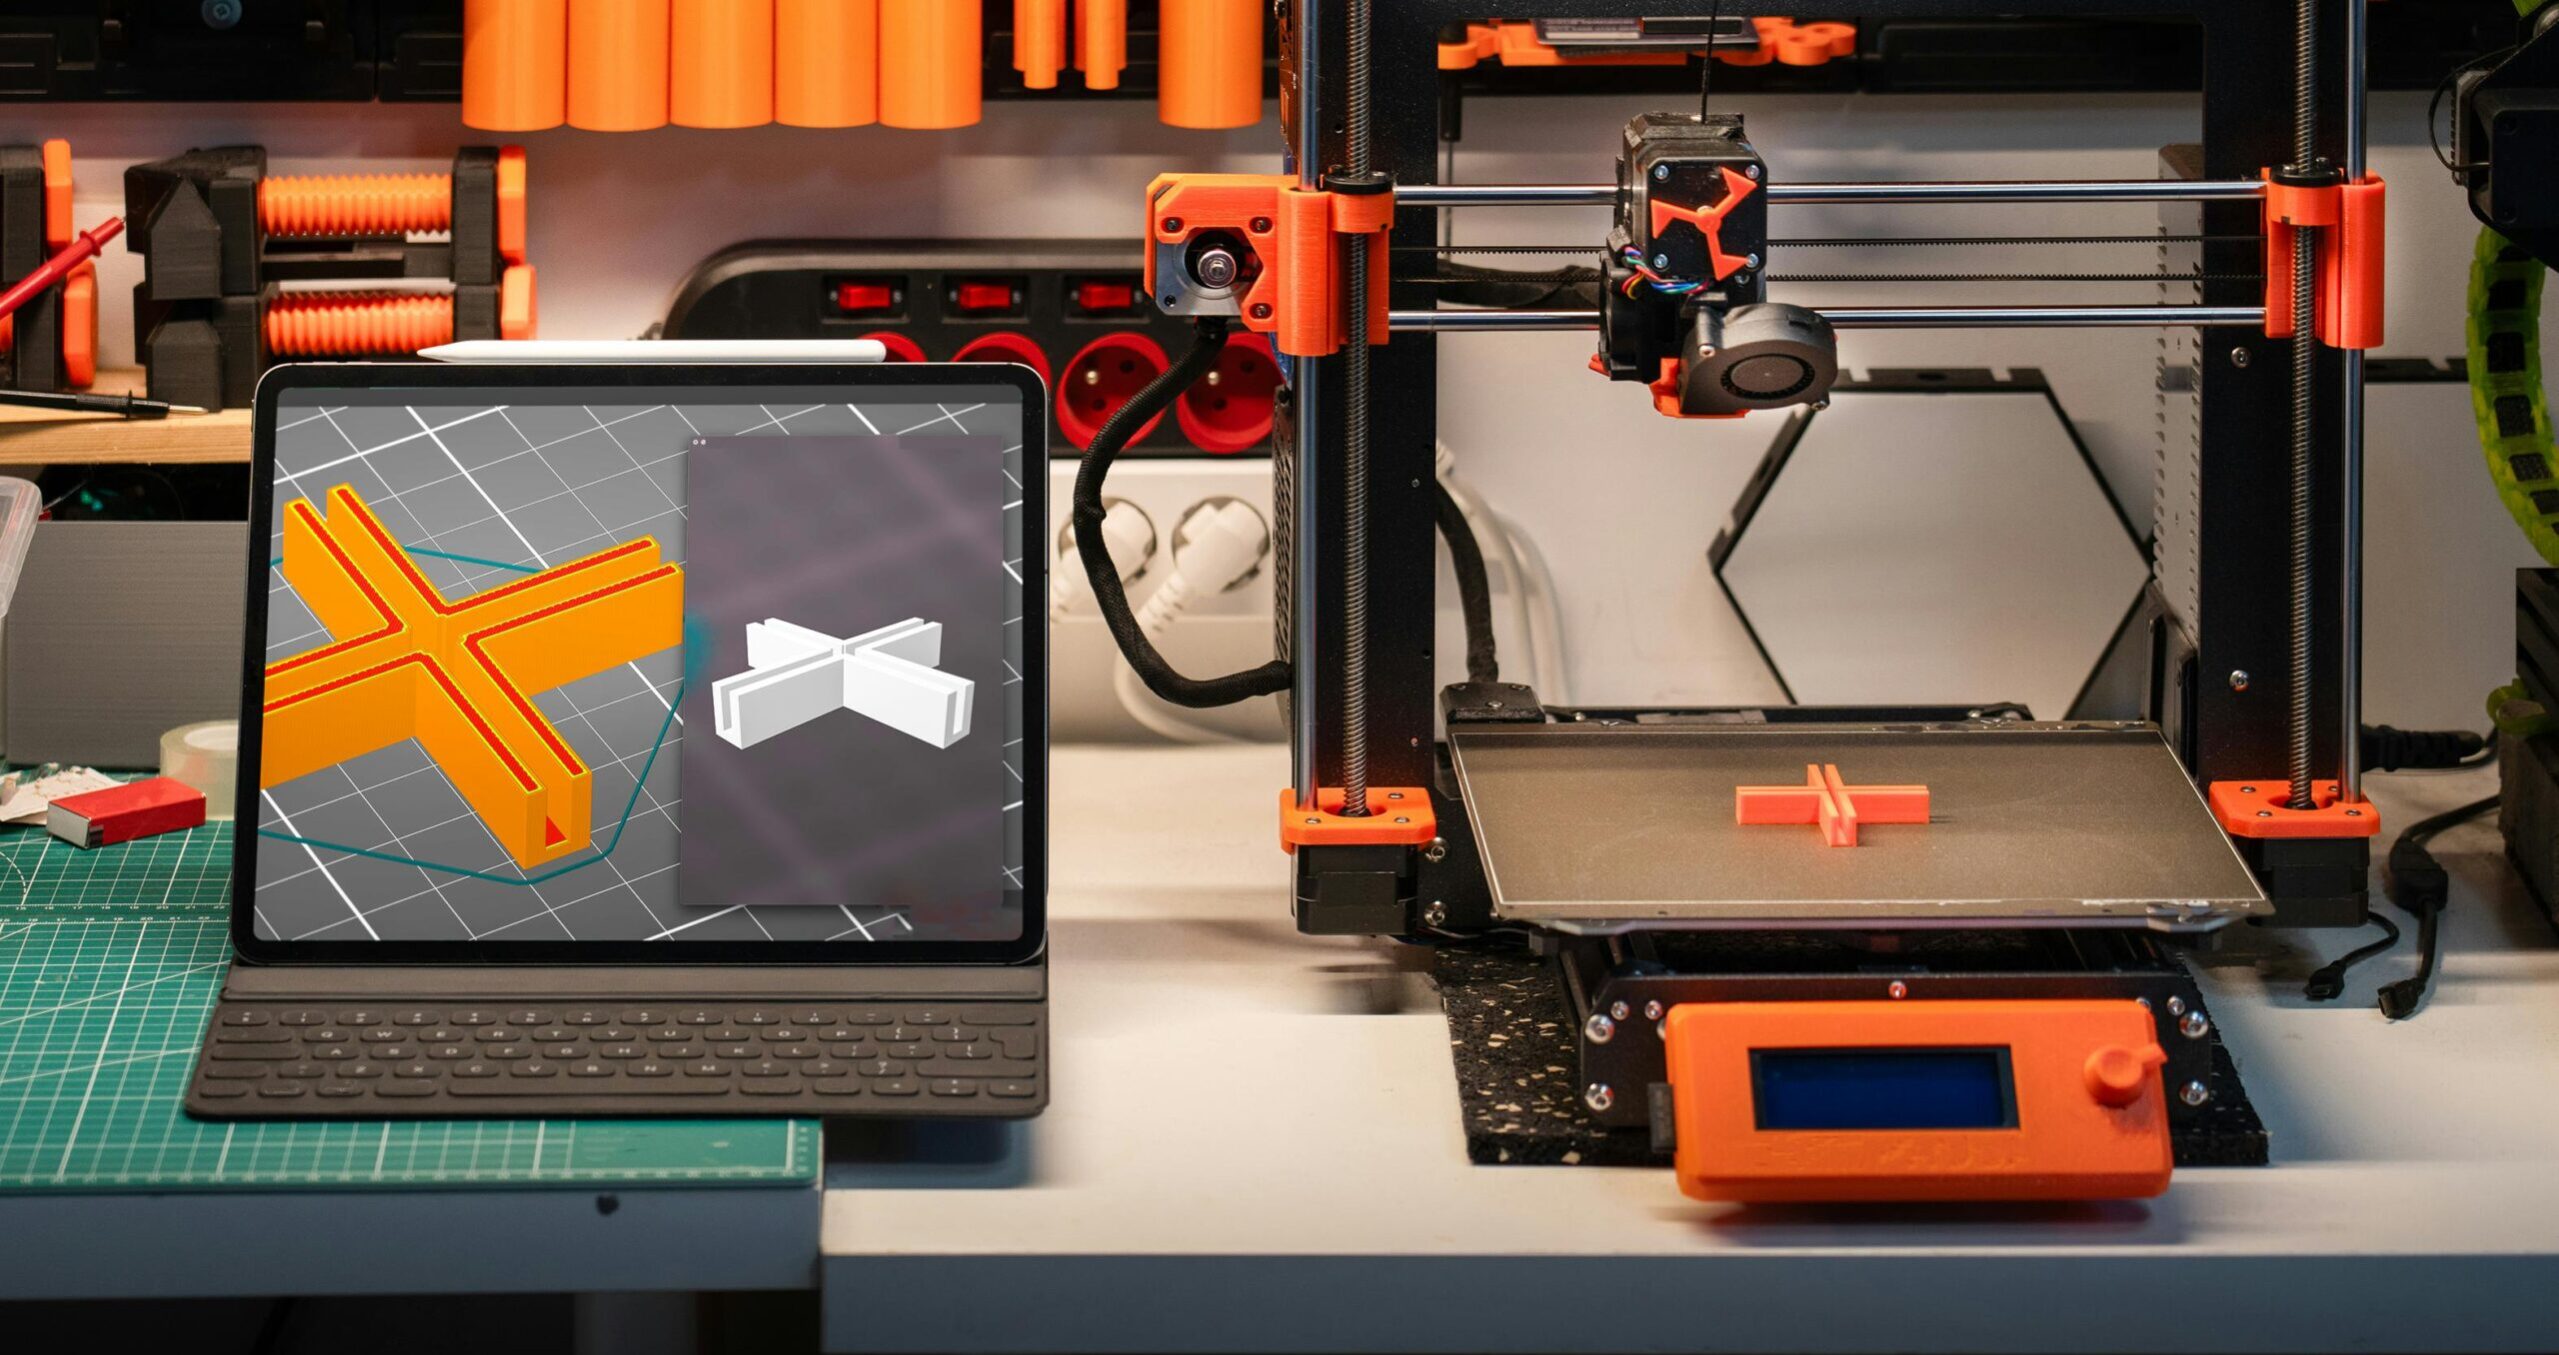
A slicer is software that converts a 3D model file (STL or 3MF) into instructions your printer can read. It slices the model into hundreds or thousands of horizontal layers and generates the toolpath the printer follows.
You don’t pay for a slicer. The main options are all free:
| Slicer | Best For | Works With |
|---|---|---|
| Bambu Studio | Bambu Lab printers, beginners | Mac, Windows |
| PrusaSlicer | Prusa printers, advanced control | Mac, Windows, Linux |
| Orca Slicer | Multi-brand, fine-tuning | Mac, Windows, Linux |
| Cura | Creality and general use | Mac, Windows, Linux |
If you buy a Bambu Lab printer, use Bambu Studio. It auto-detects your machine, has preset profiles for every filament type it ships, and gets you printing in under 10 minutes. See more on the OreKo slicer guide.
STL Files: Where the Actual Objects Come From
A 3D printer doesn’t invent shapes on its own. You give it a file and it prints that file. STL (and 3MF) files are the standard format.
There are three ways to get them:
- Download free files from sites like Printables.com, Thingiverse, or Makerworld.
- Buy files from designers on Cults3D, MyMiniFactory, or other marketplaces.
- Design your own using tools like TinkerCAD (free, browser-based, beginner-friendly) or Fusion 360.
When you’re just starting out, downloading free files is the fastest way to get printing and build confidence with your machine. When you want something specific, that’s when buying a well-designed file from a trusted creator makes sense.
Browse the OreKo STL files page or the full 3D models catalog for files designed to print clean on the first try, supports-free.
A Few Small Things Worth Having from Day One
You don’t need a shopping cart full of accessories. But a handful of items will make your first week noticeably smoother:
- Scraper or palette knife for removing prints from the bed without scratching the surface
- Isopropyl alcohol (IPA) at 70-90% concentration for cleaning the print bed before each print. Oils from your hands kill bed adhesion.
- Flush cutters for trimming strings, brims, and small bits of filament cleanly
- A microSD card or USB drive if your printer doesn’t connect directly to your computer
That’s genuinely it for a starter toolkit. Skip the glue stick unless you’re printing large ABS parts (you won’t be, yet). Skip the enclosure unless you move to engineering materials later. Keep it simple.
Understanding How the Process Actually Works
Here’s the full flow from file to finished print:
- Find or create an STL file
- Open it in your slicer software
- Set layer height (0.2mm is the standard starting point), infill percentage, and whether supports are needed
- Export the file as G-code
- Transfer to the printer via SD card, USB, or WiFi
- Start the print and let the machine do its thing
A first layer that sticks is 80% of the battle. If your first layer is laying down flat and bonding to the bed, the rest of the print usually follows. More on the technical side of how all this works at the how 3D printing works page.
What You Don’t Need Right Away
The 3D printing hobby has a reputation for expensive upgrades. Ignore most of it at the start.
You don’t need an enclosure unless you’re printing ABS or ASA (which you shouldn’t be for your first few months). You don’t need a hardened steel nozzle unless you’re printing carbon fiber or glow-in-the-dark filament. You don’t need a multi-color system like AMS until single-color prints feel easy and you want more.
Get the basics dialed in first. A well-tuned PLA print on a stock 0.4mm brass nozzle at 0.2mm layer height looks great and is satisfying to produce.
Frequently Asked Questions: Getting Started with 3D Printing
How much does it cost to start 3D printing?
A solid beginner FDM setup costs $200 to $400 total. That covers a mid-range printer like the Bambu Lab A1 Mini or Creality Ender 3 V3, a 1kg spool of PLA ($15 to $25), and the basic accessories listed above. Slicer software is free.
Do I need design skills to use a 3D printer?
No. Most people print files designed by others for months or years before they try designing their own. Sites like Printables and Cults3D have thousands of ready-to-print files. You just download, slice, and print.
How long does a first 3D print take?
A small calibration cube or simple figurine prints in 20 to 45 minutes. More complex objects like a full-size deck box or a detailed prop take anywhere from 3 to 10 hours depending on size and settings.
Is 3D printing safe to do at home?
FDM printing with PLA is considered low risk for indoor use. PLA is a plant-based plastic and produces minimal emissions at print temperatures. Good practice is to print in a ventilated room or near an open window. Resin printing requires more caution due to fumes and UV exposure.
What’s the difference between an STL file and G-code?
An STL file is the 3D model. G-code is the machine instructions your slicer generates from that model. You print G-code, not STL directly. The slicer handles the conversion. See the slicer guide for more detail on how this works.