
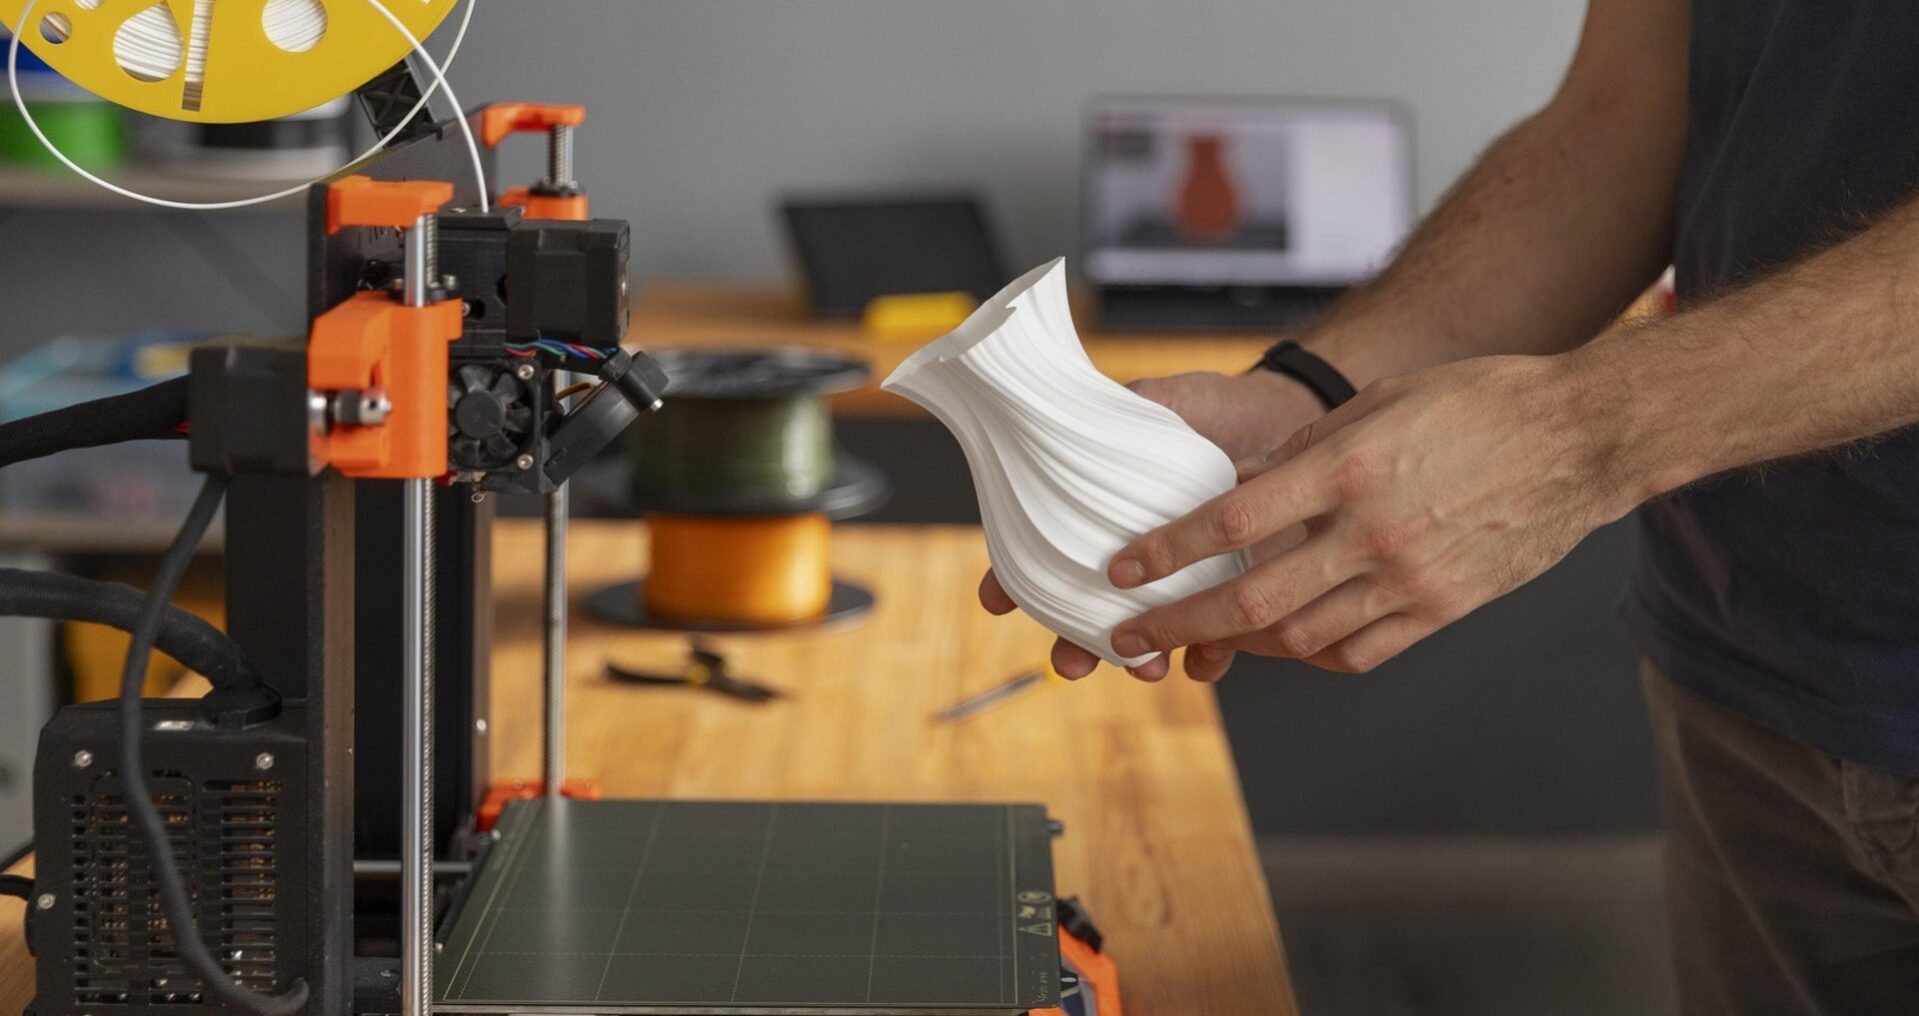
Every FDM print has a seam: the point where the printer starts and ends each perimeter loop. At this junction, there’s always a very slight imperfection where the extruder begins and stops depositing plastic. Where this seam lands on your print determines how visible it is. Seam placement is a slicer setting that controls this, and getting it right significantly improves the appearance of curved and tall prints.
Seam Placement Options in Bambu Studio and Orca Slicer
Aligned (default): All seams stack on the same vertical line. This creates one visible vertical line on the print but concentrates the imperfection in one predictable location. Good for cylindrical prints where you can orient the seam to face away from the viewer.
Nearest: Seam lands at the nearest point to where the previous layer ended. Produces a random-looking scatter of seam points around the perimeter. Less concentrated, but each individual seam point is still slightly visible.
Random: Randomly distributes seam positions around the perimeter on each layer. The seam scatter looks natural on organic shapes. No single visible line, but random small marks throughout the surface.
Rear (or Back): Forces all seams to the back of the print relative to the front face. Ideal for display models where you define which face is front. The seam is invisible on the display face and hidden at the back.
For deck boxes and gaming accessories, Rear or Aligned works well since you can orient the seam to an interior or back surface in Bambu Studio by rotating the model. For organic shapes like cosplay props and dollhouse figures, Random distributes the seam naturally. The full slicer settings guide is at the slicer guide.
Frequently Asked Questions: Seam Placement
How do I hide the seam on a 3D print?
Use Rear seam placement in your slicer and orient the model so the rear faces away from the display direction. For cylindrical prints, use Aligned and rotate the model so the seam line faces backward. Seams can also be sanded lightly after printing to reduce visibility.
Why does my 3D print have a visible line down the side?
That’s the seam. All FDM prints have one. The line’s thickness depends on seam placement setting, retraction calibration, and pressure advance. A thick blobby seam suggests over-extrusion at the seam start point and can be improved by tuning wipe-on-retract settings in Bambu Studio or Orca Slicer.
Does seam placement affect print strength?
Marginally. Seams are technically the weakest point per layer because the start-stop junction is slightly less well-fused than continuous extrusion. In practice, this matters only for parts under significant load along the layer plane. For hobby prints, seam placement is purely an aesthetic consideration.